Homemade vs store bought nut milk. Which is healthier for you?
Like many, I live a dairy free lifestyle and avoid cow’s milk products due to my own food allergies and intolerances. I have been using plant based and nut milks for many years. Both in drinks, over cereal, in baking, in cooking, smoothies, hot chocolates and on their own. It’s safe to say I think I have probably tested almost every brand there is on the market. But just how do you choose the best nut mylk? As a nutritionist and a foodie that lives for flavour here are my tips for choosing homemade vs store bought nut milk.
Why Nut Milk?
There are many reasons why you might include nut milk in your diet. This might include living a vegan lifestyle, avoiding animal products or for health reasons. Or perhaps most commonly you have an intolerance to lactose (the sugar found in milk) or an allergy to casein (the protein found in milk). Or like myself you might prefer the taste and versatility of making your own.

Are All Nut Milk’s The Same?
Definitely not. With so many brands producing nut milks, most commonly almond milk, the ingredients start off the same (almonds + water). The “extra” or added ingredients are what sets a good almond or nut milk apart.
In its simplicity nut milk is simply a blend of soaked nuts and water. But when we introduce factors such as shelf life, consistency, the nature of how milk separates and of course the profitability of a product there are a few things to look out for. The percentage of nuts to water, additives, thickeners, added sugar and flavours is how you can tell a good almond or nut milk from another.
The cheapest almond milk on special at the supermarket might not be the healthiest. In fact you could be paying for expensive water with minimal nuts actually present.
What To Look For When Choosing The Best Brands Of Nut Milk
Firstly, the percentage of nuts to water should be at its highest. The more nuts the more nutrition in the milk. This is where the good stuff is found. You want to choose a brand that has a decent percentage of nuts used to make it. You can simply check for this on the label. For example, a common brand of almond milk from the supermarket lists ingredients as “Filtered water, Ground Whole Almonds (2.5%). The higher the percentage the more almonds used which means more nutrients.
Next you want to look for additives and thickeners. These are the ingredients you will read on the ingredient panel such as carrageenan, stabiliser or thickener. This is what gives it a fuller mouth feel and also helps the milk to not separate and split. These additives aren’t ideal as a regular part of the diet when coming from a real food philosophy or wanting eating food as close to its natural state as possible. It is also possible that these additives might impact your gut particularly if you are sensitive or on a gut healing protocol for example. Bottom line, additives really have no nutritional value so I return back to my approach of “eat real food“.
Keep an eye out for added sugars. Do we really need to add sugar to nut milk? Not really. But when making a marketable product its added because as consumers our palates help buy their product. Let’s get back to real food. Look for brands that are labelled “unsweetened”. If you have a sweet tooth add a natural sweetness to your smoothies or drinks with small amounts of honey, dates, fruit etc, (real food).
There are other ingredients to also consider such a poor quality oils. Such as sunflower oil. Sunflower oil is a common cheap and flavourless oil added to foods which can creep in more than you know if you were to look at food labels.
If you consume nut milk on a regular basis or it is a staple in your diet the brand you choose to use at home should be one that is as close to its natural state as possible. Such as those with mostly nuts mixed and water. No additives or preservatives, numbers or ingredients you don’t recognise.
Why Make Your Own Nut Milk
Homemade vs store bought nut milk? My choice is homemade. There are some really great brands of nut milk on the market particularly found in health food stores or in the cold section (where shelf life isn’t as big of a deal). But to get the most out of it nutritionally when including nut milk in your diet making your own is ideal. As a busy mum myself I understand the feeling of not having enough time. However with some simple tips below for how to make your own nut milk I promise it’s easier than you think. Even if you make your own some of the time and rely on good quality brands the other, this will still be a better option nutritionally for you and your family.
When you consider value for money, making your own wins hands down every time. Instead of paying for expensive water or low percentage of almonds, when you make your own you know you’re drinking quality.
By making your own you also avoid all of the additives, preservatives and thickeners and guarantee you are drinking it at its purest state.
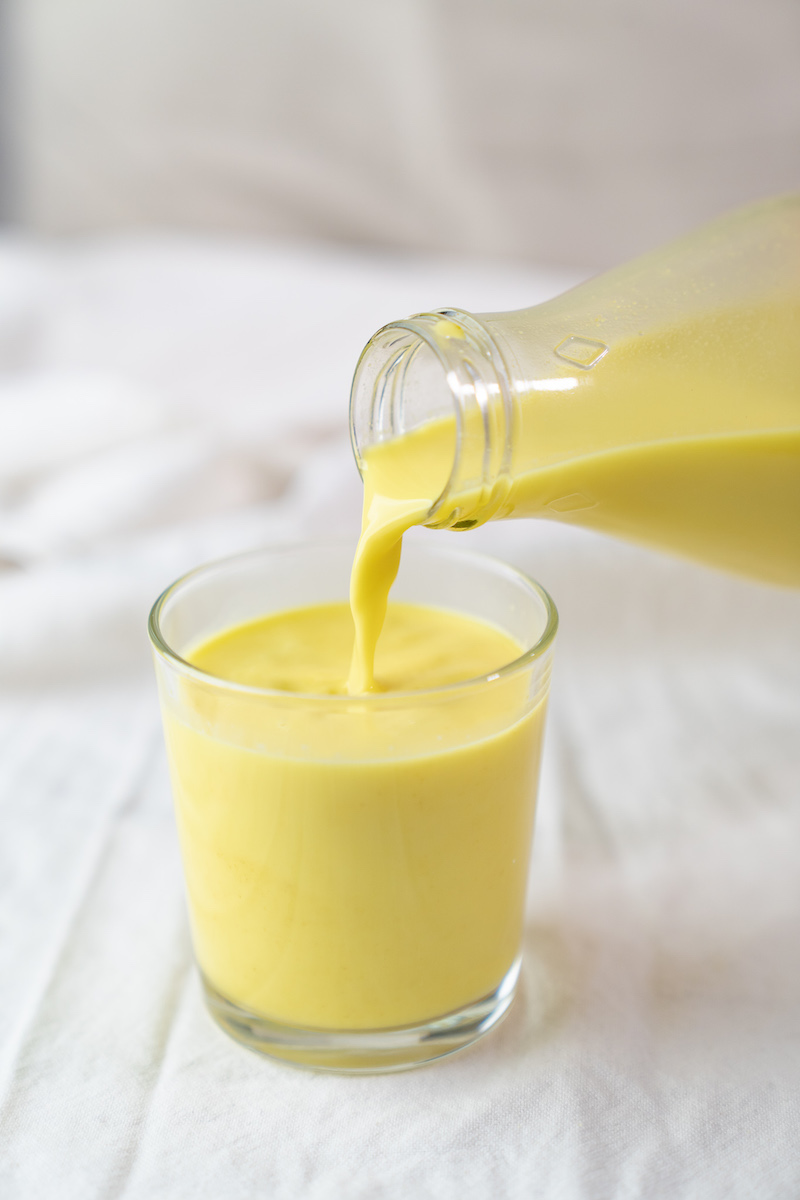
Homemade nut milk also tastes way better than store bought! It actually has the natural flavour of nuts and you can add your own personal touch such as cinnamon, nutmeg, dates, maple or vanilla bean.
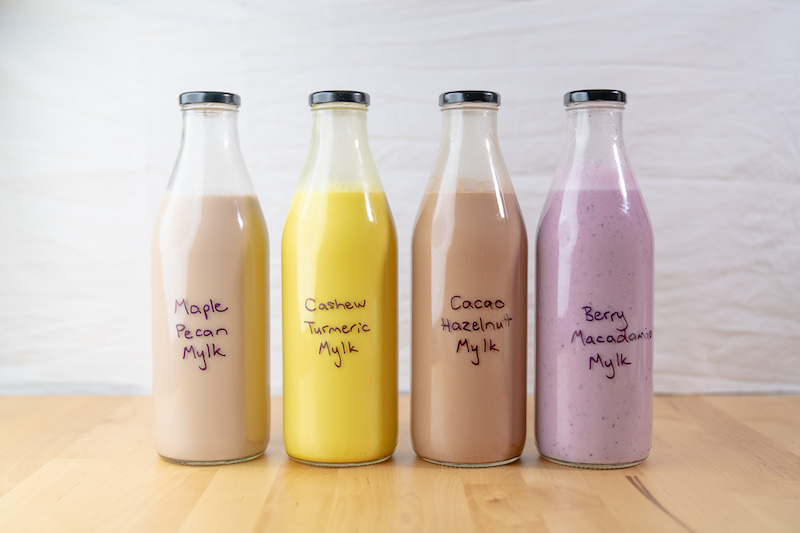
Making your own nut milk allows you to create new flavours, explore new combinations and bring more versatility into your diet by using different nuts. You can make almond milk, cashew milk, macadamia nut milk or a combination. If you are ‘nut free’ you can also make it with tigernuts (a tiny tuber) or even coconut.
How To Make Your Own Nut Milk
Making homemade nut milk is easier than you think. All you need is your ingredients, nuts and water and any other fun flavours you wish to add such as cacao, turmeric, dates or spices and a few pieces of equipment to make the process easy. You will need a bowl for soaking nuts, a mesh, nut mylk bag or cheesecloth for straining the milk and a sterilised glass jar for storing your nut milk in the fridge. Simple!
- To get started you need to soak your nuts for the right amount of time* (see table below). Almonds and harder nuts typically need longer than softer nuts such as cashews.
- Strain and rinse your soaked nuts.
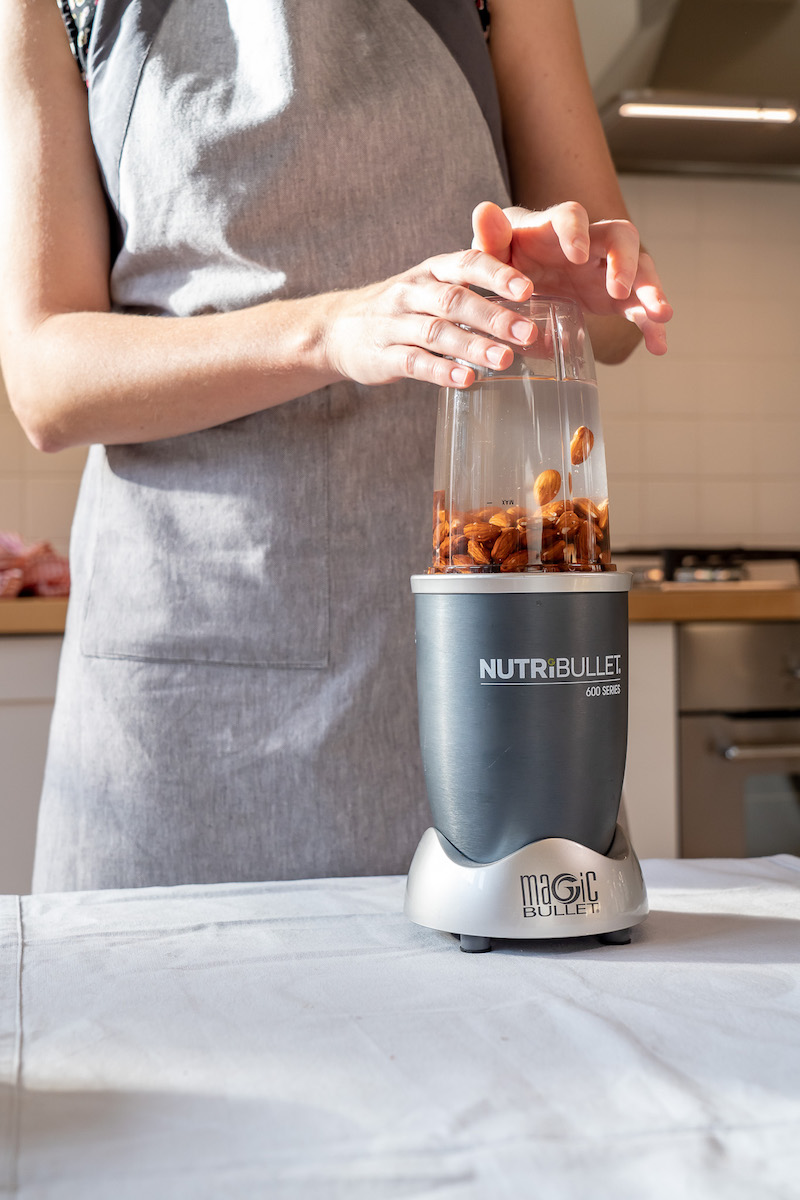
- Blend with water in a high speed blender or food processor to make a creamy liquid.
- Strain your liquid through a mesh, cheesecloth or nut milk bag. Use a bowl underneath to catch the nut mylk. You can either leave it as is or return the liquid to your blender and add flavours such as dates, spices or cacao.
- Transfer your nut milk to air tight glass containers and store in fridge.
- Discard or reserve leftover pulp for another use.
To make this easy for you I’ve done some research and found a Nut Mylk Kit you can buy that has everything you need to get making your own. It comes with the perfect size straining bag and straining stand to save yourself mess. Not kidding, this stand changed my nut mylk making life. For years I was struggling to strain over a bowl and spilling it everywhere. You can find out more about the kit and what’s included here.

Zero Waste Tips
Your homemade nut milk will last several days in your fridge, approximately up to 5 if stored correctly. If you haven’t used all of your nut milk by it’s use-by date you can freeze it in ice cubes to add to smoothies.
Instead of discarding the leftover pulp you can use this in baking such as cookies, breads or crumble toppings.
Cheat’s time saving tip – you can make cashew nut milk without soaking over night. Their natural creaminess with no tough skin makes it easy to simply blend with water and strain.
I hope these tips help! Leave your comments and questions below. Hot cacao chocolate on homemade almond milk with gluten free cookies, here I come.
This post is in collaboration with our friends Mad Millie who make it easy to make your own real food at home.


